Before you begin: Make sure you are using a new or reset tablet (follow the steps below)

📱 Steps to reset the tablet
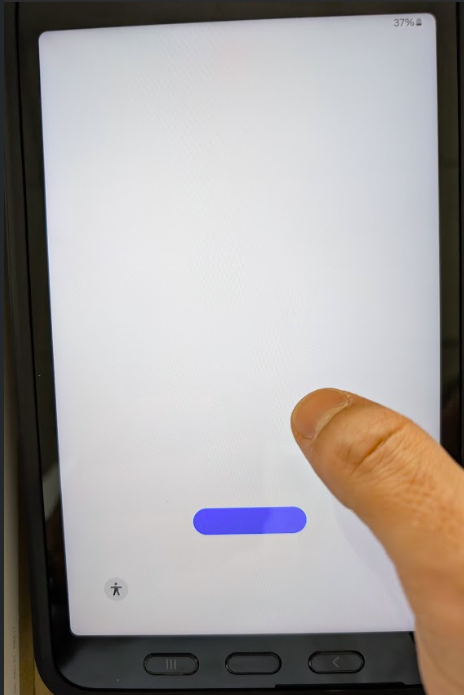
1. Unlock the tablet
-
Turn on the tablet.
-
Enter your PIN or pattern if prompted.
2. Open Settings
-
Tap the Settings icon (⚙️) in the menu or on the home screen.
3. Go to the "System" menu
-
Scroll down.
-
Tap System (or “General Management” depending on the model).
4. Tap “Reset options”
-
Select Factory data reset.
5. Confirm the reset
-
Read the warnings.
-
Tap Reset Tablet.
-
Enter your PIN if prompted.
-
Confirm by tapping Erase Everything.
6. The tablet restarts
-
It will turn off and restart automatically.
-
The process may take a few minutes.
-
Once complete, you’ll see the initial setup screen (just like when you first used it).
Installation video:
A video showing how to install SureMDM and Eezytrace is available here.
It covers all the steps described below:
Steps for installing SureMDM and Eezytrace:
Step 1: Turn on the tablet
- Turn on the tablet.

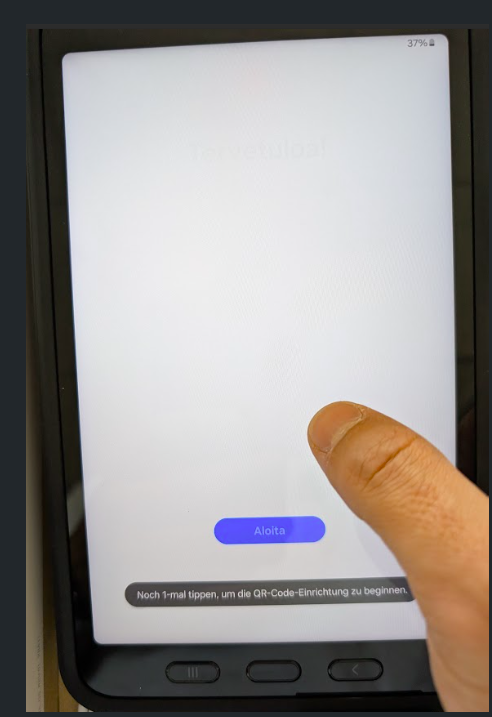
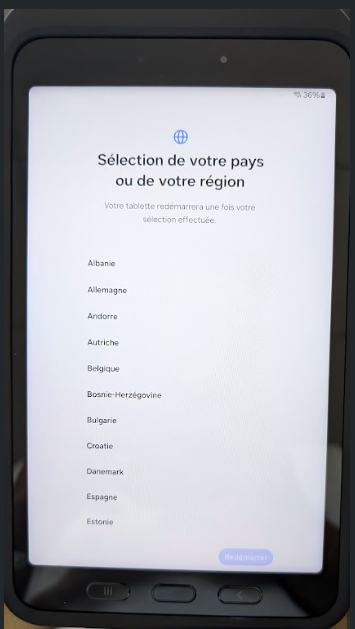
Step 2: Selecting the language
-
Select the desired language.
-
Click Next.

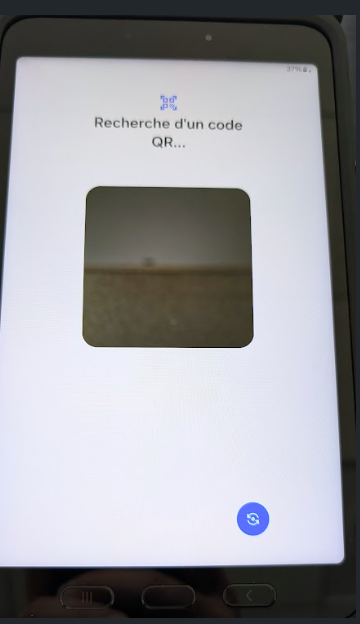
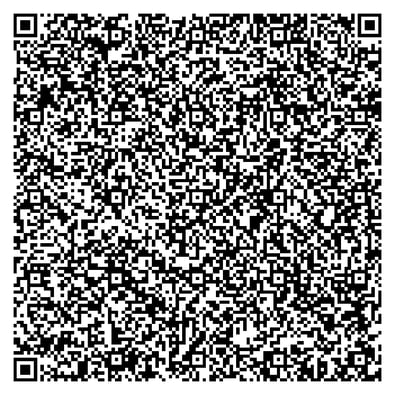
Step 3: Scan the QR Code
-
The QR code scanner appears on the screen.
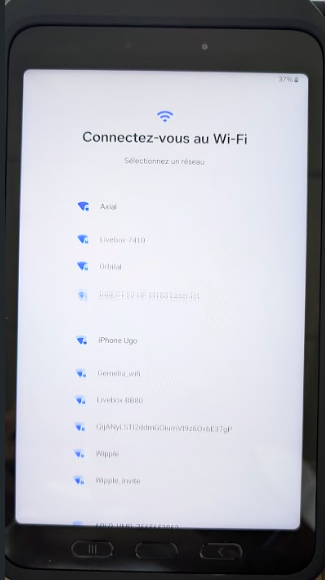
Step 4: Connect to the Wi-Fi network
-
Connect your tablet to your Wi-Fi network.
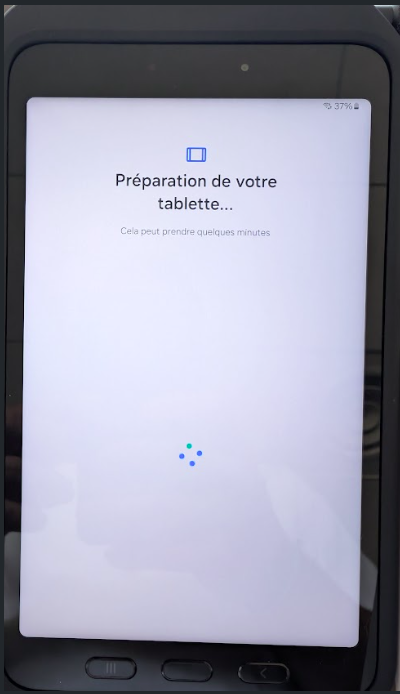
2. The tablet begins to set up automatically:
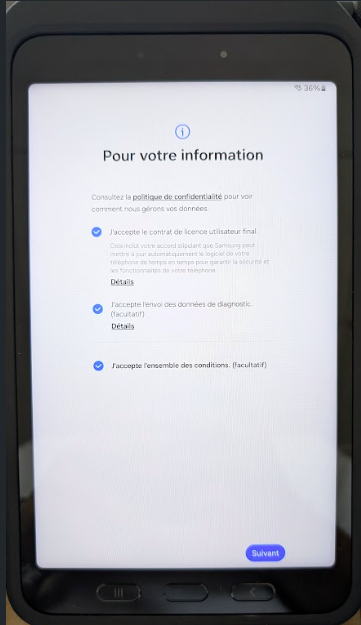
Step 5: Accepting the terms and conditions
-
Accept the terms of use.
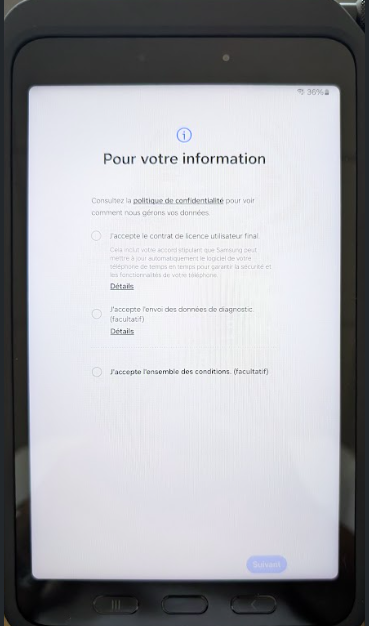
2. Click Next.
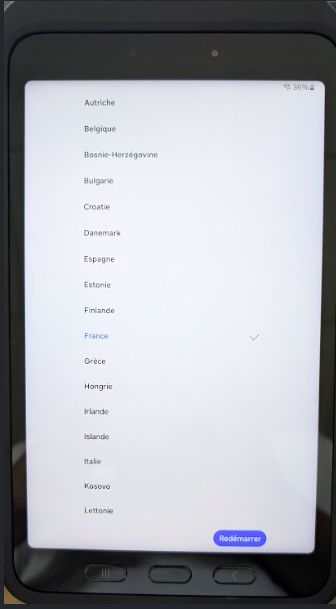
Step 6: Selecting the country
-
Select your country.
2. Click the Restart button.
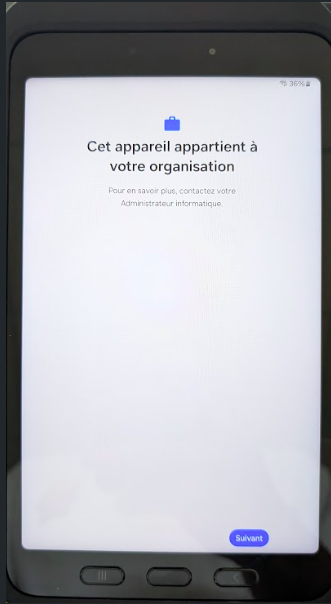
Step 7: Organization membership message
-
A message appears: "This device belongs to your organization."
- Click Next.
Step 8: Preparing for enterprise setup
-
A message appears: "Preparing for enterprise setup."
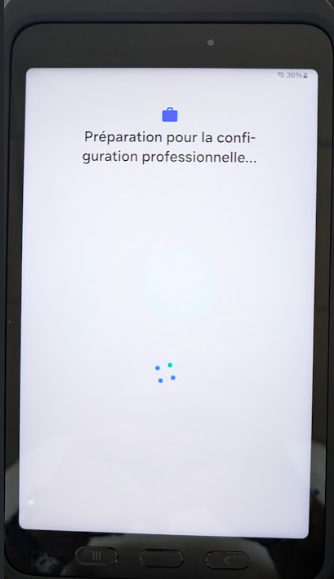
2. Wait for the setup to complete automatically.
Step 9: Configuration with SureMDM Agent
-
The phone configuration with SureMDM Agent begins.

2. Click Continue.
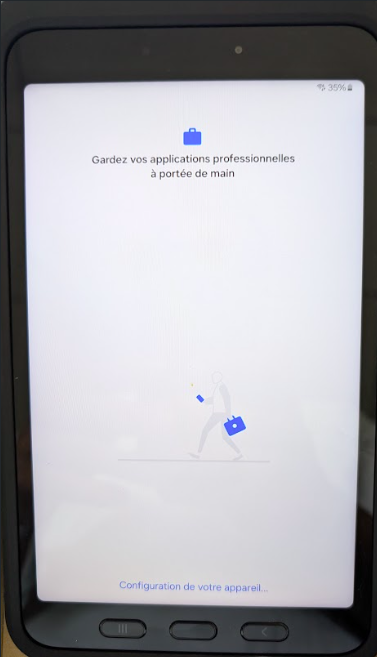
3. A message appears: "This Galaxy Tab Active5 is not a personal device."

4. Click Next.
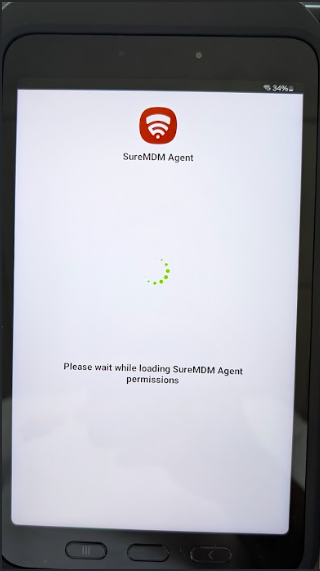
Step 10: Configuring SureMDM Permissions
-
Wait for SureMDM to load.
2. Click on all the red tabs to accept the permissions:
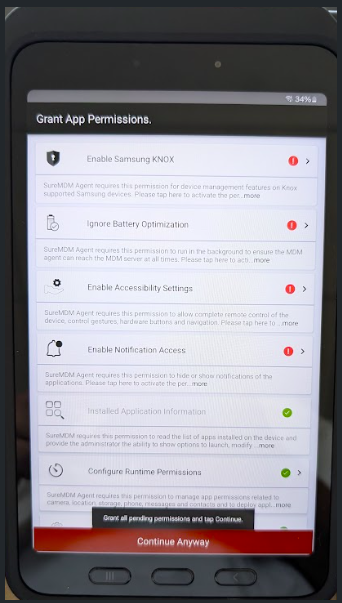
-
-
Enable Samsung KNOX: Samsung KNOX activation starts automatically.

-
Ignore Battery Optimization: Ignore battery optimization.

-
Enable Accessibility Settings:

-
A "Allow Accessibility Settings" message appears.
-
Click I Accept.
-
The accessibility window opens.
-
Go to the Installed Apps menu (row with a small red dot on the right):

-
Click on SureMDM Agent.

-
Enable the first option:

-
-
Enable Notification Access:

-
Enable the last line corresponding to SureMDM Agent:

-
Tap the Allow button:

-
-
Step 11: Finalizing the installation of SureMDM Agent
-
A summary of the approved permissions is displayed.
-
Click Continue:

-
The SureMDM Agent installation begins:

-
Wait for the Finish button to appear, then click Finish to complete the installation:

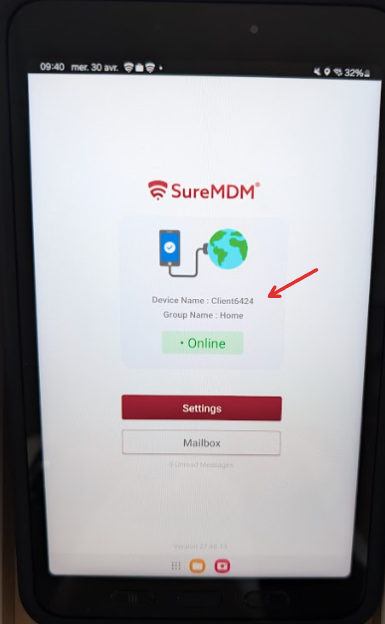
Step 12: Access the SureMDM Agent app
-
Select an app from the home screen: Select “SureMDM Agent”.

-
On the tablet’s home screen, swipe up to access all apps.
-
Open the SureMDM Agent app.

-
At this step, provide the customer number displayed on the screen either by email to assistance@eezytrace.com or by phone at 09 75 18 28 32.
5. Support will provide you with a QR code to scan in order to configure the Eezytrace app on your tablet.
Step 13: Configuring the Eezytrace app
1. On the tablet, locate the Eezytrace app, which will already be installed on the tablet, and open the Eezytrace app.

2. Click the "Log In" button.
3. Scan the QR code provided by support.