Instructions
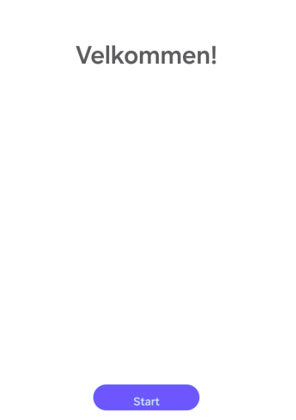
1. Turn on the tablet and follow the system setup steps - Click “Start” (blue button)
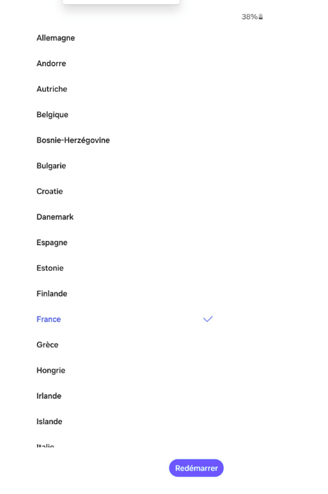
2. Select the language, click “Next,” then select the country from the drop-down list and click “Restart” → Language “French (France)” and country “France”
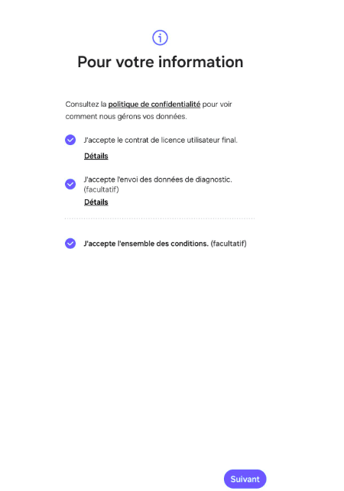
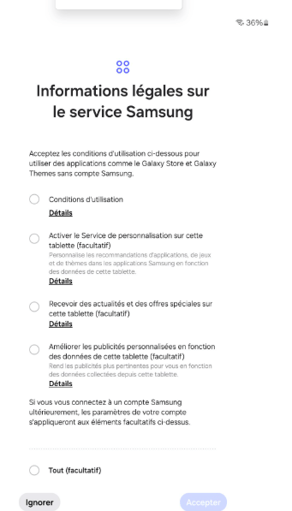
3. Once the tablet restarts, check the box next to “I accept all terms and conditions,” then click “Next”
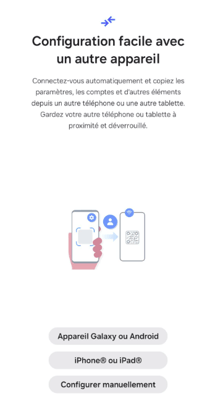
4. Skip the easy setup by clicking “Set up manually”
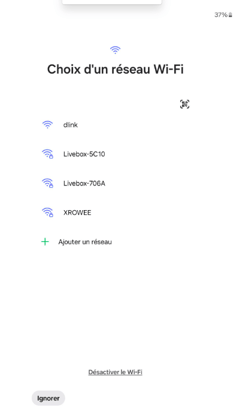
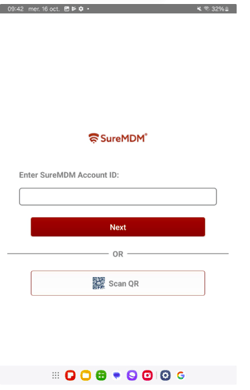
5. Connect the tablet to the Wi-Fi network by clicking the “Scan a QR Code” option and scanning the QR code that follows
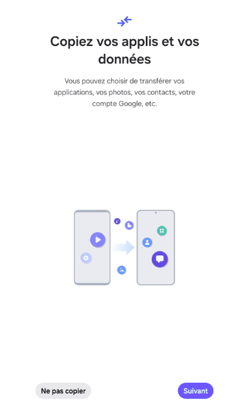
6. Skip copying old data by selecting “Skip”
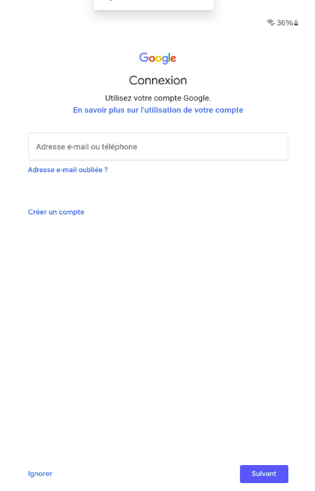
7. Skip creating a Google account by clicking “Skip” twice
8. Accept Google services by clicking “More” and “Next”
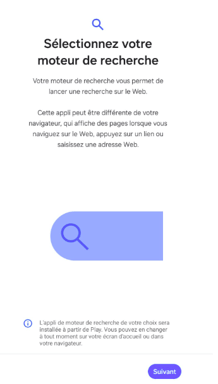
9. Select the default search engine by clicking “Next,” then select “Google,” scroll down the page by clicking “Next,” and finish by clicking “Set as default”

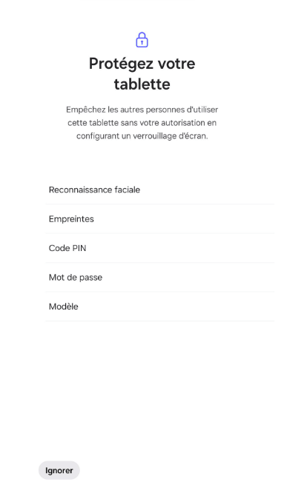
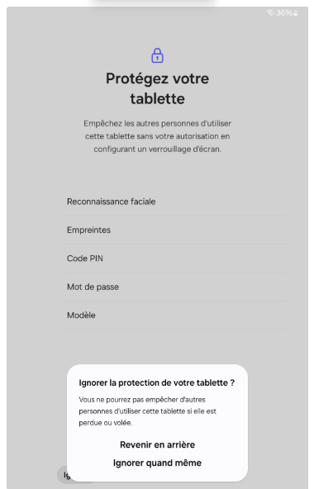
10. Skip the tablet’s security system by selecting “Skip,” then confirm by clicking “Skip Anyway”
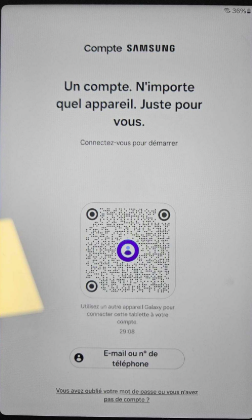
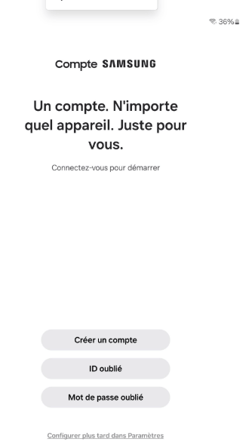
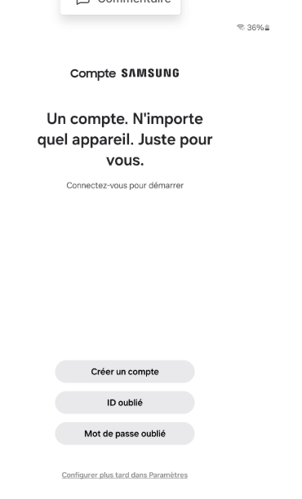
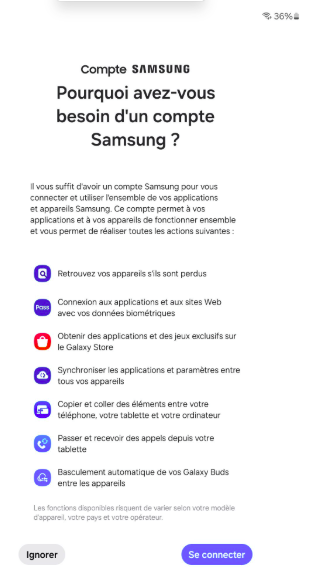
11. Skip the Samsung account login again by clicking “Forgot your password or don’t have an account” and “Set up later in Settings” on the next page, then click “Skip” for all login steps

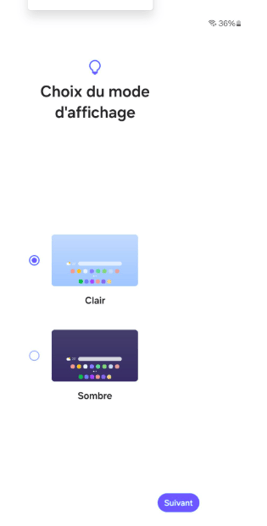
13. For the display mode selection, leave “Light” selected and click “Next”
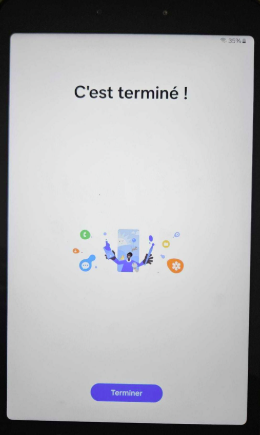
14. Click “Finish”
15. Once the system setup is complete, proceed to the tablet setup steps
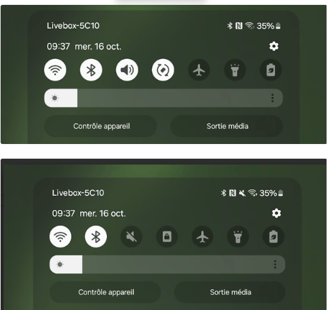
16. Return to the tablet’s home screen and swipe down the status bar (swipe your finger from top to bottom on the screen), set the tablet’s sound to “Mute” by tapping the “Sound” icon twice, and disable auto-rotation by tapping the
“Disable auto-rotation” icon
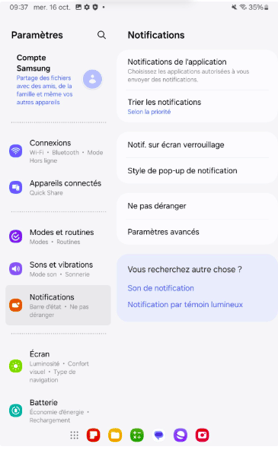
 17. Open Settings by tapping the gear icon
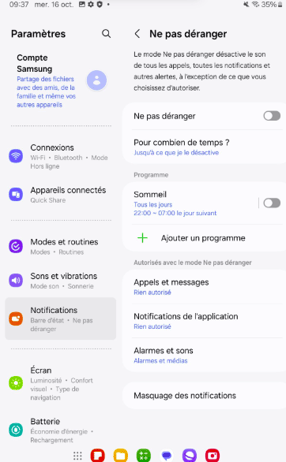
Enable “Do Not Disturb” mode by going to the “Notifications” menu
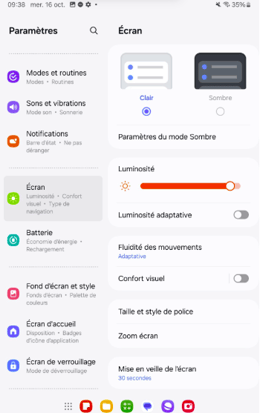
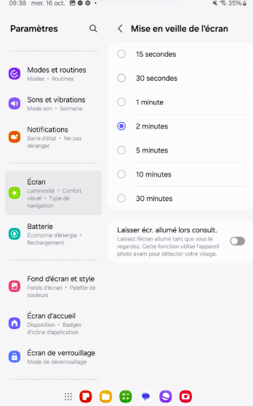
18. Tap “Display” to set the brightness to maximum and disable adaptive brightness. Then set “Screen timeout” to 2 minutes
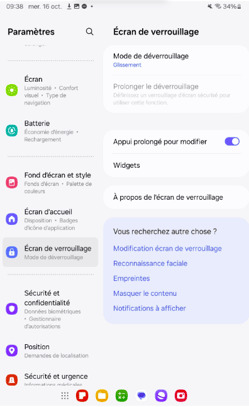
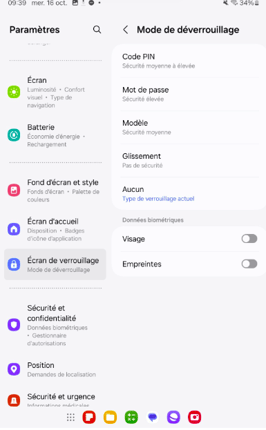
19. Tap “Lock Screen,” select “Lock Mode,” and tap “None”
20. Tap “Advanced Features,” select “Side Buttons,” and tap “Power Off Menu”


21. Launch a Google search by clicking on the Google bar, then search for “42GEARS DOWNLOAD” and click on the first link “SureMDM Agent for Android / Past Releases”

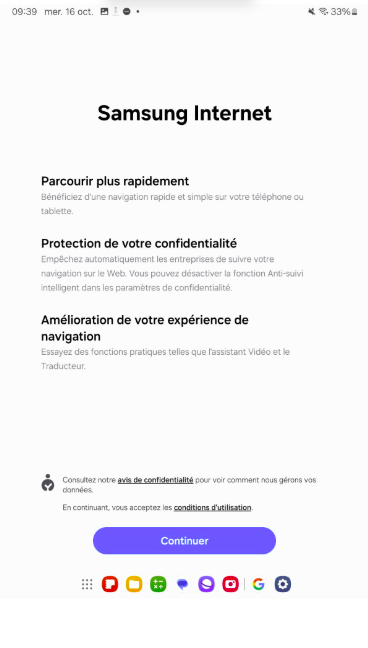
22. Accept Samsung’s terms and conditions by clicking “Continue” and accept cookies by clicking “Confirm”

23. Click the “+” to the right of the latest version and download the file by clicking “download”

24. Authorize the download:
Validate the captcha by checking the “I’m not a robot” box, then click “Continue.”

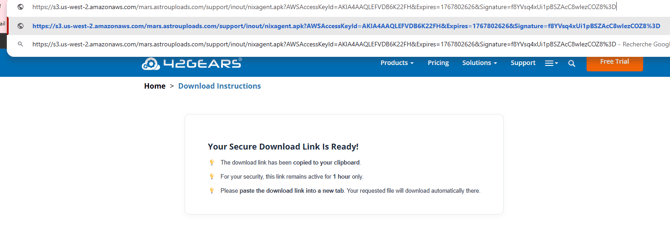
Once the captcha is validated, a window will open with the following message:
Your secure download link is ready!
💡The download link has been copied to your clipboard.
💡For your security, this link remains active for only 1 hour.
💡Please paste the download link into a new tab. The requested file will download automatically.


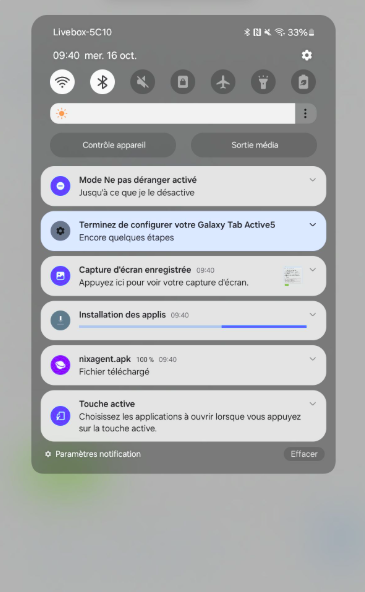
25. Open the file by clicking “Open”; if the notification bar disappears, open the notification center by swiping down from the top of the screen and tap the “nixeagent.apk” entry to open it
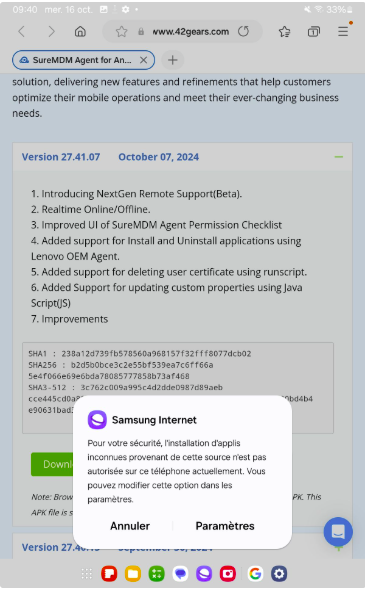
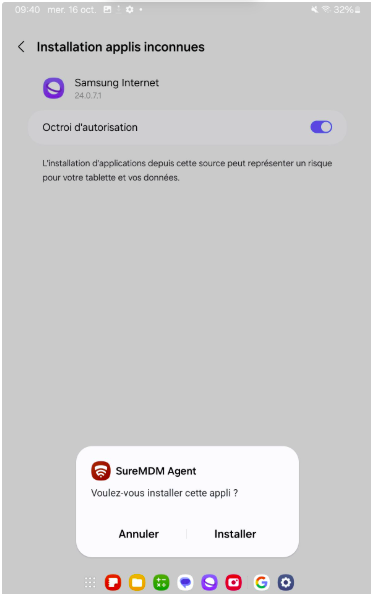
26. Complete the installation by allowing app installation from the Internet. Click “Settings,” check the box, and then click “Install.”
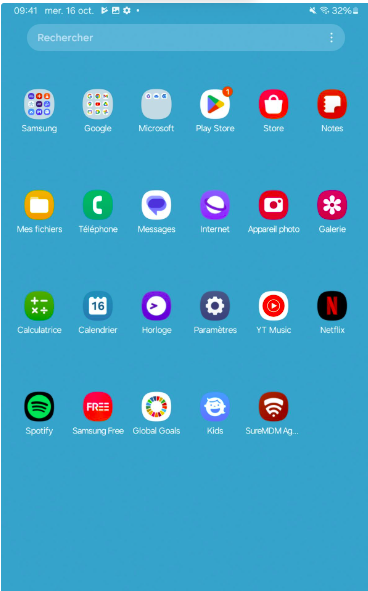
27. Once the installation is complete, close the page and return to the home screen. Swipe up to view all apps and open the “SureMDM Agent” app
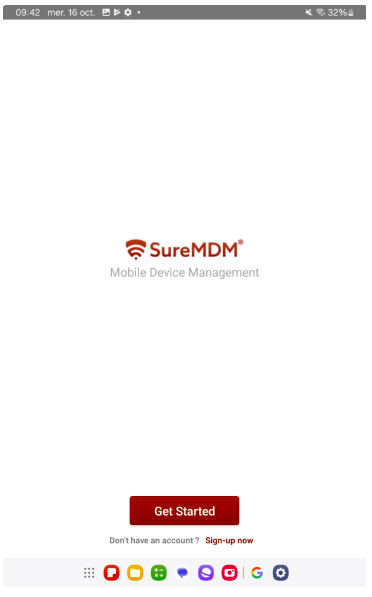
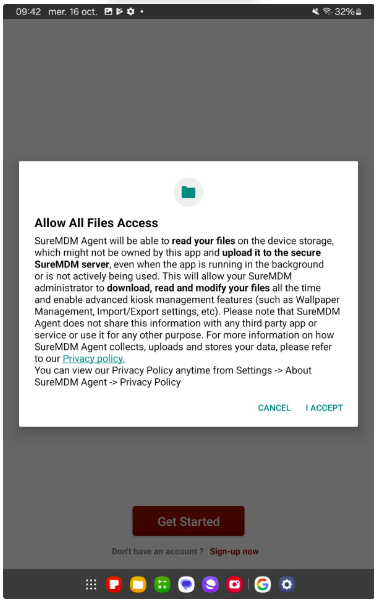
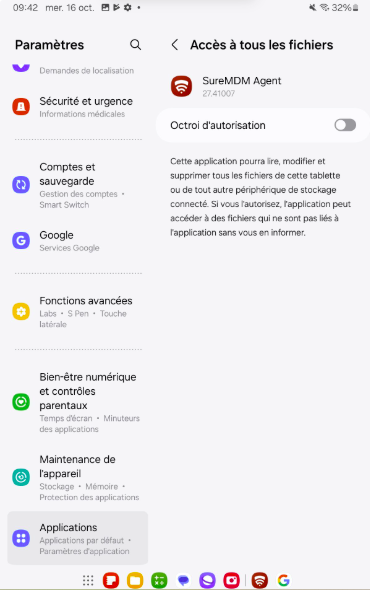
28. Click “Get started” and “I accept,” check the authorization box, and go back using the physical “back” button
29. Select Device Admin Enrollment

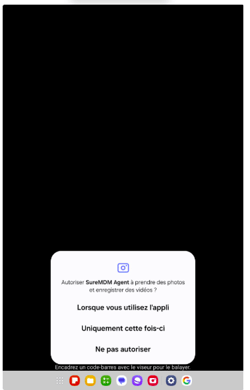
Click “Scan QR Code,” grant the app permission to take photos by clicking “While using the app,” and scan the following QR code


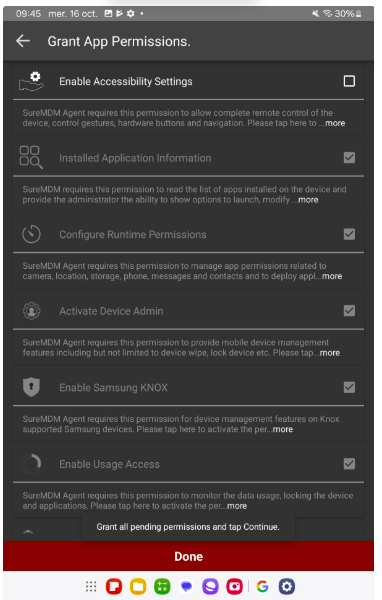
30. Grant all permissions in the list so that the indicators change from red to green, except for “Enable Accessibility Settings”; everything else must be authorized
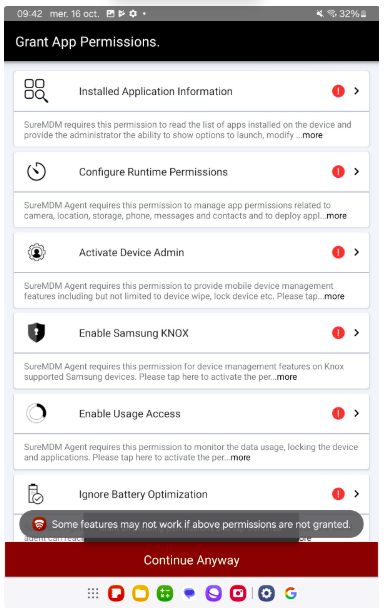
31. If the permissions page closes, restart the app and click “Settings,” scroll through the menu, and click “SureMDM Agent Permissions Checklist”
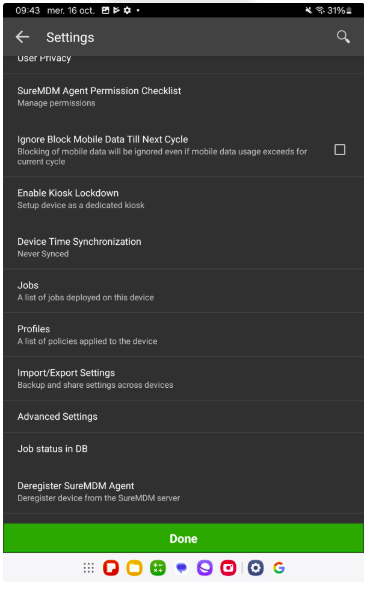
32. Once all boxes are checked (except “Enable Accessibility Settings”), click “Done.”
-
-
On the tablet’s home screen, swipe up to access all apps.
-
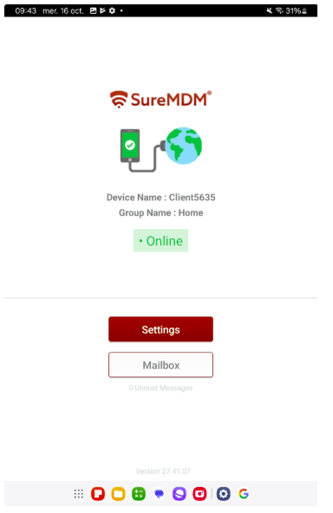
Open the SureMDM Agent app.

-
At this stage, provide the customer number displayed on the screen either by email to assistance@eezytrace.com or by phone at 0975182832
-
Support will install Eezytrace and provide you with a QR code to scan to configure the app on your tablet.
33. Configuring the Eezytrace app
1. On the tablet, locate the Eezytrace app, which will already be installed on the tablet, and open the Eezytrace app.

2. Click the "Log In" button.
3. Scan the QR code provided by support.